A shrink film kit that looks tight in October is a drum in January. The first hard cold snap peels the tape off the top rail, the sheet starts breathing in and out with the furnace, and a window that was supposed to feel like a storm panel feels like a loose tarp. Learning how to tighten window insulation kits is not about hauling harder on the plastic. It is about the four places the seal actually fails: the frame face, the sill, the seam between two sheets, and the tape itself.
I have hung these kits on my own windows in Akron and on more than a few callbacks where the homeowner followed the package directions exactly and still had cold air on the back of the neck. The kit is rarely the problem. The surface it is stuck to usually is.
Why you should trust me
Nineteen years as a finish carpenter before I went out on my own, most of it inside other people's houses in Summit County, means I have watched the same window fail in the same week of December more times than I can count. Weather sealing is a system, and I treat it like one: the sweep, the jamb, the threshold and the sill each fail in a different season for a different reason. A loose sheet of window film is a tension problem, not a film problem.
I keep a shelf in the shop of parts that gave out, each one labelled with what failed first. There is a coil of double faced tape up there with a note that says it let go at the first cold snap. I do not own a thermal camera and I am not going to tell you I ran a blower door test on three rolls of plastic. What I can tell you is where the tape let go, what the frame looked like underneath in April, and which of these three products I would put on my own house.
How I picked and how I tested
Here is the basis, because a review without a stated basis is marketing. I did not lab test anything in this article. I read each listing for the numbers that decide the job: stated finished size, actual roll width and length, whether tape is included, and what the window insulation kits reviews repeat about the part that gives out.
The repeat complaint is the useful signal. When a dozen buyers describe the same failure, that is a design fact rather than a bad batch. On film kits the repeat complaint is tape that lets go at the first cold snap. On foil rolls it is a roll that arrives narrower than the opening it was bought for.
A window insulation kits size guide is arithmetic, not opinion. Measure the opening across the frame face you intend to stick to, then add two inches all around for film and about a half inch for foil. A 47 inch roll covers a 36 inch window with room to spare. A 36 inch roll covers a 32 inch window and not much more. That window insulation kits comparison decides more purchases than any star rating.
How to choose window insulation kits, then, comes down to three questions. Is the tape included, and is its width stated? Is the finished coverage stated, or only the roll size? And does the kit tell you what surface it bonds to, because cold glass and painted wood are not the same bet. Buyers walk in expecting to choose film. What they actually need is film plus a roll of tape wide enough to grab the frame.
I hung the film kit over two of my own double hungs and cut the foil rolls to fit a west facing slider and a garage door panel. Same prep on every surface: alcohol wipe, warm frame, firm press. What follows is what I look at before I buy another one, not a number I took with an instrument.
What to buy before you tighten window insulation kits
Three materials cover nearly every window in a house, and they do different jobs. Film is a tension membrane that stops air movement and traps a dead air space. Foil is a radiant barrier that bounces summer sun back off the glass. Tape is the part that decides whether either one is still there in February. Pick by the failure you have, not by the season printed on the package.
Our pick for drafty glass: Window Insulation Kit for Winter,Plastic Shrink Film & Strong Tape, Indoor Thermal Seal to Block Drafts, Cold Air for Windows and Patio Doors,5-Pack(42"W x 62"T)
Our pick for drafty glass
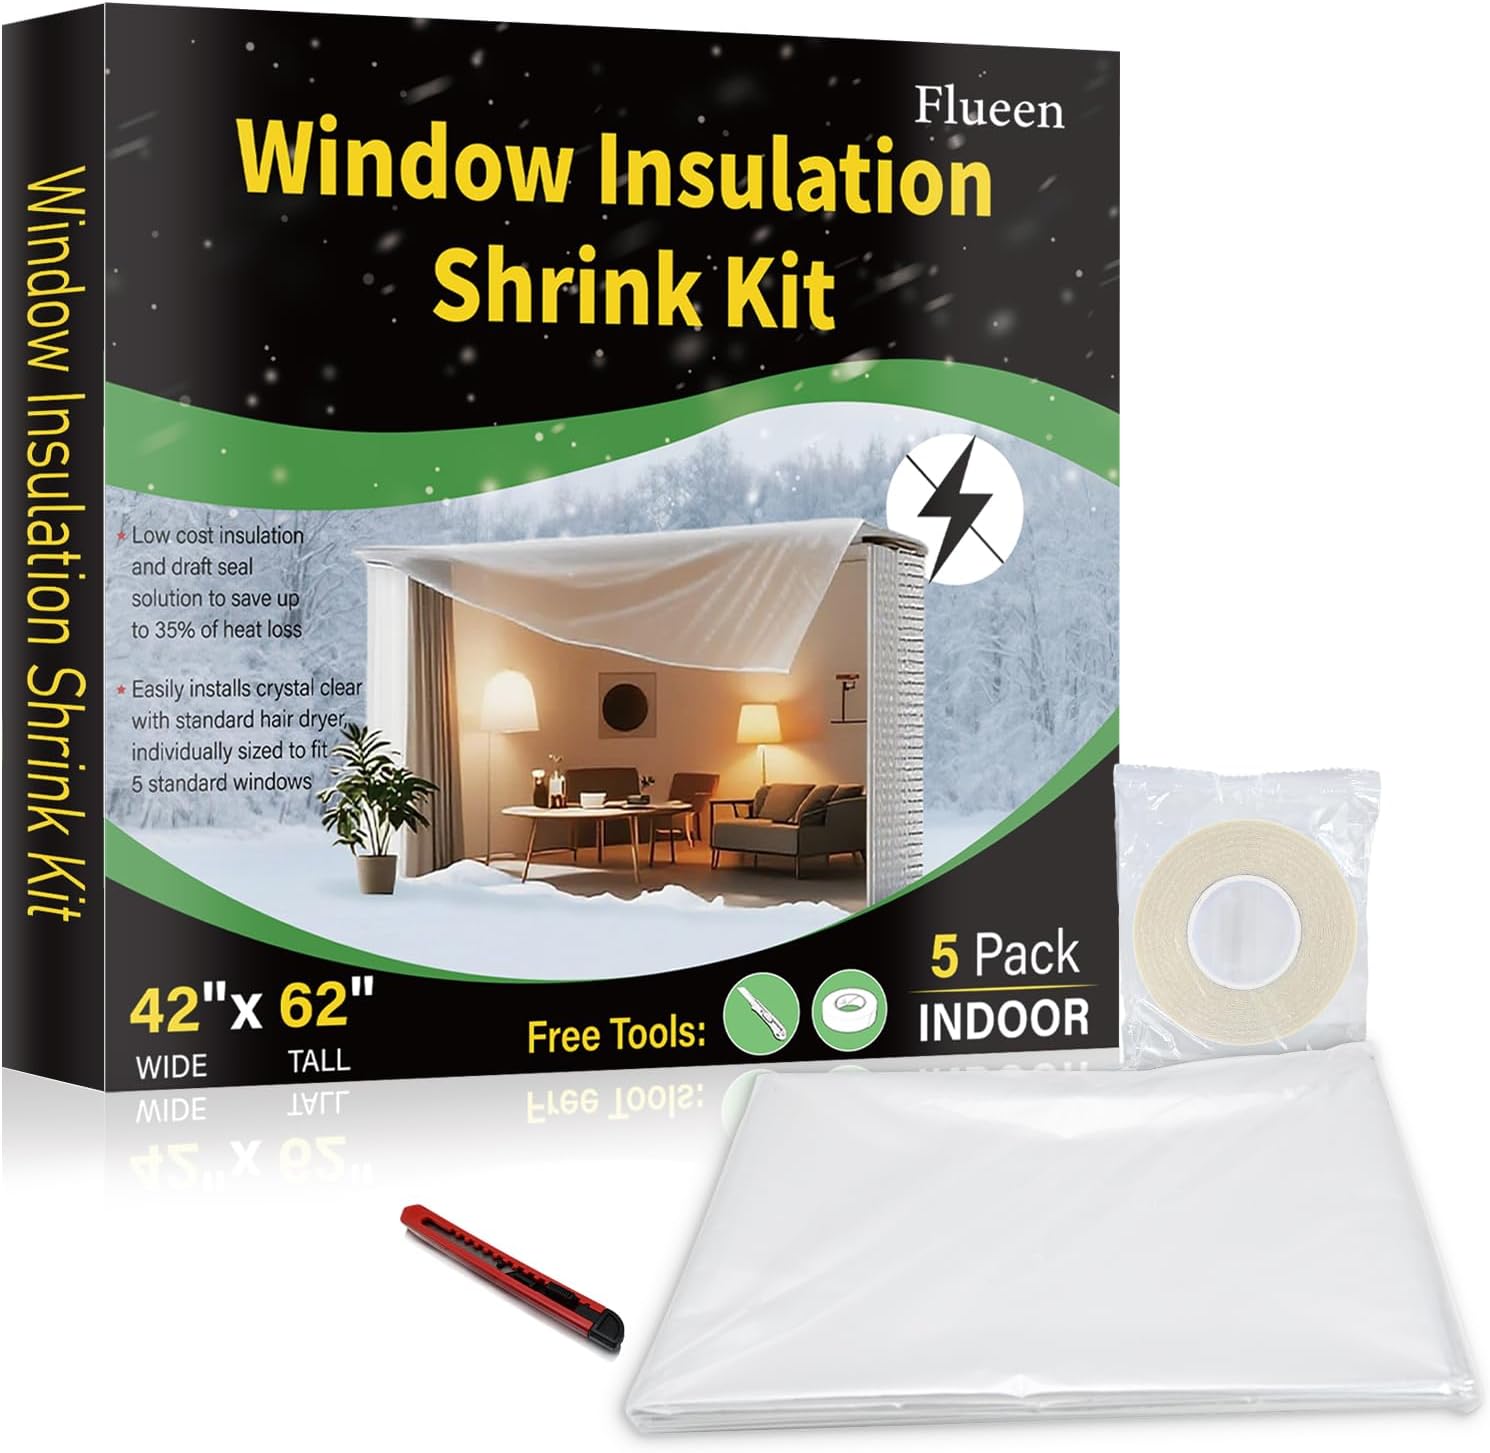
Window Insulation Kit for Winter,Plastic Shrink Film & Strong Tape, Indoor Thermal Seal to Block Drafts, Cold Air for Windows and Patio Doors,5-Pack(42"W x 62"T)
This is the kit I reach for when the complaint is a cold draft at the glass and the budget is small. Five sheets at 42 inches wide by 62 inches tall covers a standard double hung with a few inches to spare on each side, which is exactly the overlap the tape needs to hold. The tape comes in the box, and that matters more than the film does. A kit that makes you buy tape separately is a kit that gets installed with whatever tape is already in the drawer.
The film is thin, and thin is what you want here. Heavy film fights the hair dryer, shrinks unevenly, and pulls the tape as it tightens. The trade off is that a sharp edge, a curtain rod or a cat will open it, so keep the spare sheets for next season instead of throwing the box out.
Check current Amazon price.
Flaws but not dealbreakers: The included tape is the weak link on any kit in this class, including this one. If your frame face is bare wood or chalky old paint, buy a wider double faced tape and save the kit tape for the sides. It is a small extra purchase that decides whether you are doing this again in three weeks.
Anyone heating an old house with single pane double hungs should start here rather than with a foil roll.
Best for summer sun: Double Reflective Bubble Foil Insulation Foam, 47IN X 10FT Window Insulation for Summer Heat Reflective Window Film for Window, Garage Door, RV, Roof
Best for summer sun
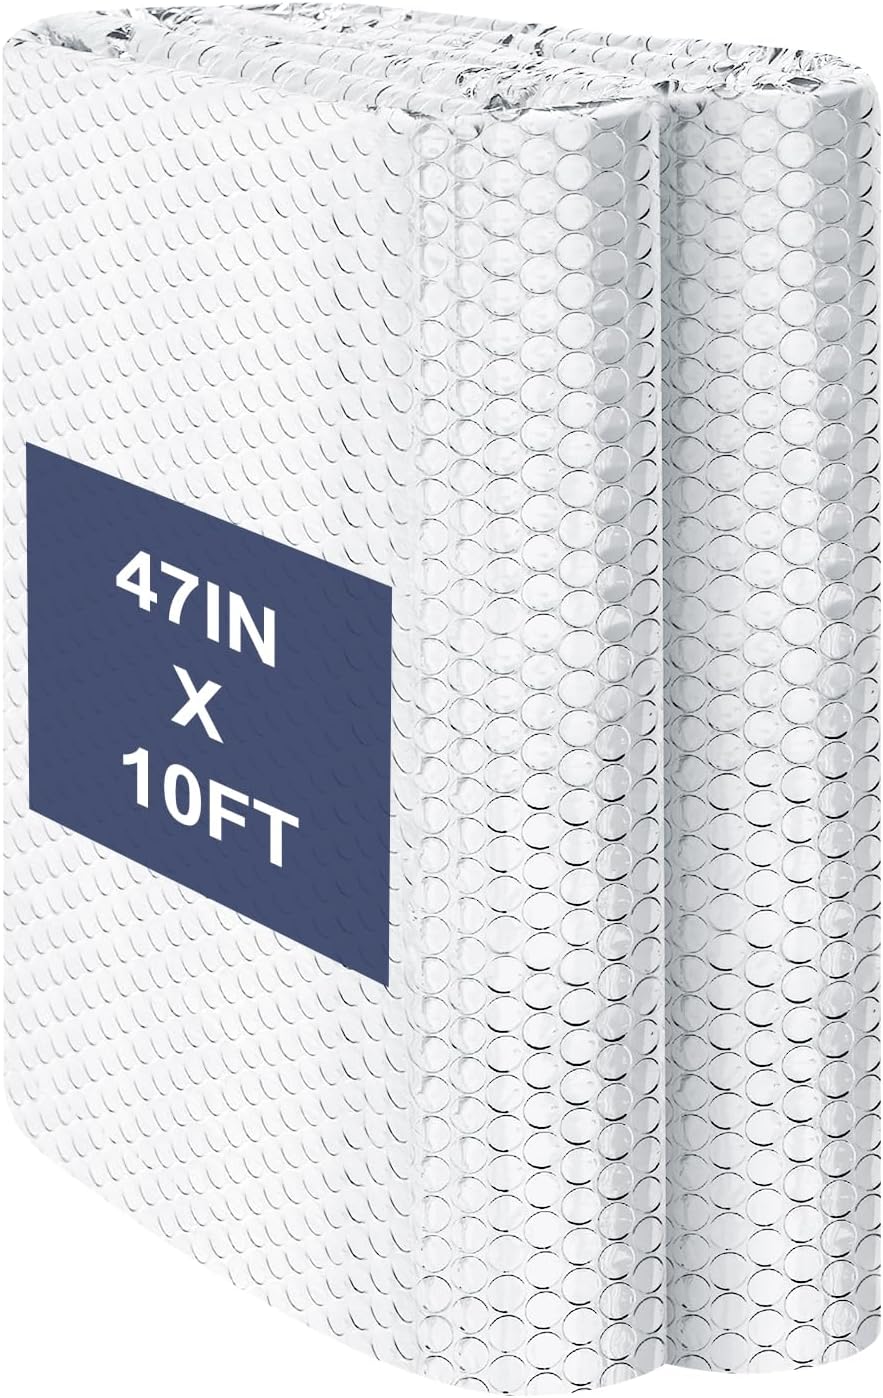
Double Reflective Bubble Foil Insulation Foam, 47IN X 10FT Window Insulation for Summer Heat Reflective Window Film for Window, Garage Door, RV, Roof
Ten feet of 47 inch foil covers three average windows or one wide slider, and the width is the reason to pick this roll over the narrower one. It cuts with household scissors, friction fits into a frame, and does not need tape on all four sides if the fit is snug. The bubbles give you a small air gap against the glass, which is what makes a radiant barrier work at all.
Foil is a summer product in most houses, and this is a summer product. Set against a south or west facing window in July it drops the radiant load on the glass and the room stops baking by four in the afternoon. In winter it does the opposite of what film does: it blocks light, and it does not create a tight seal unless you tape every edge.
Check current Amazon price.
Flaws but not dealbreakers: It is opaque. You are trading daylight for heat rejection on whatever window you cover. Cut it to the glass and set it behind a curtain, or cut it to the jamb and accept a dark room. Foil pressed flat against single pane glass can also trap moisture, so leave a gap and look at the glass after the first hard temperature swing.
Anyone with a west facing slider, a garage door panel or an RV window that turns the interior into an oven should keep a roll of this on the shelf.
Best for odd openings: USEP Double Bubble Reflective Foil Insulation, Double Sided Insulation Roll Aluminum Foil Cover, Heat Radiant Barrier for Wall, Attic, Air Duct, Window Coverings, Radiator Cover: (36" x10')
Best for odd openings
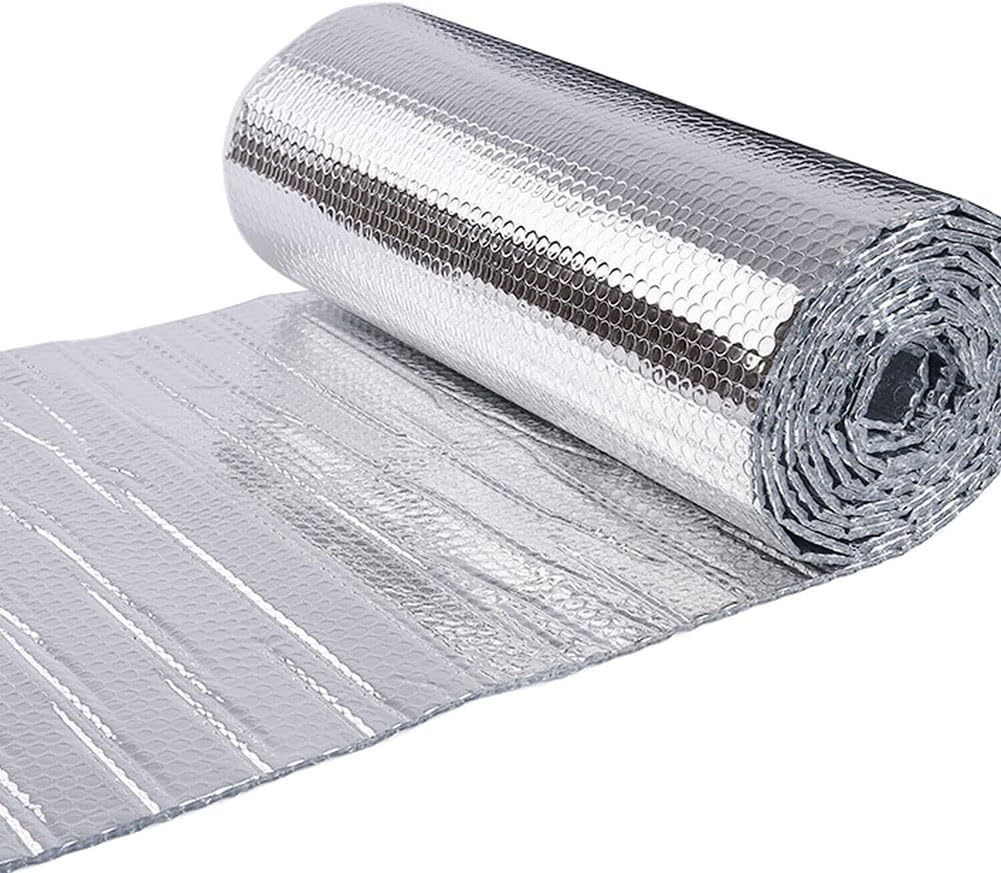
USEP Double Bubble Reflective Foil Insulation, Double Sided Insulation Roll Aluminum Foil Cover, Heat Radiant Barrier for Wall, Attic, Air Duct, Window Coverings, Radiator Cover: (36" x10')
Same idea, narrower roll, and the 36 inch width is the number that matters. It reaches across a 32 inch window with a half inch of overlap, and it is the roll I would buy for basement windows, attic kneewall windows and radiator covers, which is a job the listing suggests and one I have done. Ten feet goes a long way when the pieces are small.
The double sided facing is the real difference from a single sided roll. Both faces reflect, so orientation does not matter and you can tape to either side without fighting a bare bubble surface. Cut it with a straightedge and a utility knife for a clean edge. Scissors leave a ragged line that never sits flat against a jamb.
Check current Amazon price.
Flaws but not dealbreakers: At 36 inches it is too narrow for a wide slider without a seam, and a taped seam on foil is exactly where two pieces pull apart as the temperature moves. For anything over about three feet wide, buy the wider roll instead of fighting the seam.
Anyone covering small or awkward openings, or wrapping a radiator for the winter, will get more use out of the narrower roll.
The work, in order
Now the part you came for. This is the order that keeps tape stuck and film tight, and it applies to every kit on this page. The window insulation kits for beginners version of it is printed on the back of the package. This is the version that survives February.
Step one: Measure the frame face, not the glass. You need a flat surface about an inch wide all the way around, and most windows have that on the casing or the jamb face. If the only flat surface is the sash itself, the film will span the sash and the draft will come around it anyway. Measure the widest and tallest points and write them down. Guessing here is how a 42 inch sheet ends up on a 44 inch opening.
Step two: Degloss the surface. Wipe the whole frame face with denatured alcohol and let it flash off. Kitchen windows carry a film of cooking grease that no adhesive will hold to, and old oil paint can be chalky. Tape sticks to a clean, dull surface. It lets go of a glossy one at the first cold snap, and that is the entire failure mode in one sentence.
Step three: Warm the tape, not the room. Run a hair dryer on low over the frame face for a few seconds, then press the tape down with a cloth for a slow count of twenty. Warm adhesive flows into the paint. Cold adhesive sits on top of it and peels from the edge inward. In an unheated room, warm the tape in your hand before it goes on.
Step four: Run one continuous loop. Four separate strips leave four butt joints, and a butt joint at a corner is a gap. Run the tape around the perimeter in one pass, letting it overlap at the corners by an inch. Press the corners hardest, because the corner is where the sheet pulls first when wind hits the glass.
Step five: Cut the film oversize and anchor the top first. Two extra inches on every side gives you something to hold. Anchor the top rail first, then work down one side, then the other, then the bottom. Pull diagonally toward the opposite corner rather than straight down. Film has almost no stretch, so a straight pull only lifts the tape you already set.
Step six: Shrink from the center out. Hair dryer on high, moving constantly, six to twelve inches off the sheet. Work from the middle toward the edges and stop the moment the film drums tight. Keep going and you will watch the tape curl at the edges you just pressed. A wrinkle outside the tape line is cosmetic. A lifted edge is a leak.
Step seven: Seal what the kit skips. Film over the glass does nothing for the meeting rail where the two sashes come together, or for the gap under the lower sash. Those are separate leaks. A strip of foam or a sash weatherstrip in the channel fixes them, and skipping this step is why some people swear the film did not work. If you feel cold air at the lock, the leak is at the rail, not at the glass.
Step eight: Retighten after the first cold night. The morning after the temperature drops, run the back of your wet hand around the whole perimeter. A draft will feel cold and a leak will feel wet. Fix a lifted edge with a fresh strip of tape laid over it, warmed and pressed, rather than pulling the sheet down. One patch takes a minute. A full redo takes an afternoon.
The competition and why it lost
The first thing that loses here is rope caulk. It is a good product for the gap in a sash channel and a bad answer to a loose sheet of film. It plugs a draft path, it does not tension plastic, and it will not tighten window insulation kits no matter how much you press into the channel. It also leaves an oily residue that the next strip of tape will not stick to.
Adhesive backed foam weatherstrip loses for a different reason. On a jamb that swings through thirty degrees of temperature, the adhesive lets go and the foam takes a set and stops springing back. It is the right part for a door jamb, and there is a place for it, but it is not a film substitute.
Rigid storm panels and magnetic interior panels are the real upgrade. They cost more, they need somewhere to live eleven months a year, and they will outlast a dozen sheets of film. If you have resealed the same window three winters running, that is the sign to stop buying film and start pricing panels.
The two foil rolls compete with each other rather than with the film. The 47 inch roll wins on a wide slider because it covers without a seam. The 36 inch roll wins on small openings because you waste less of it. Neither one tightens a window the way film does, so if the complaint is a draft rather than heat, foil is the wrong buy.
What loses most often is the tape. Top rated window insulation kits are rated on the sheet, and the sheet is not the part that fails. Any window insulation kits buying guide that never tells you the tape width was written by someone who has not peeled a kit off a window in April.
For the door side of the same problem, the sweep and the threshold fail separately from the glass, and adjusting a door sweep is where that job starts.
What this all costs
Nothing on this page is expensive, which is exactly why the tape gets ignored. The money breaks down like this:
- The film kit is the least costly item here and covers five windows. Check current Amazon price.
- The two foil rolls are priced so close together that width, not money, should decide which one you buy. Check current Amazon price.
- A wider roll of double faced tape is a small extra purchase and the best money in the whole job.
- A hair dryer you already own. If you do not own one, buy a cheap one and keep it in the shop, because it is the tool that does the tightening.
- Film and foil are consumables. Plan on replacing film every year or two, not because it wears out but because you will cut it off and throw it away.
Best budget window insulation kits are not the cheapest kits. They are the ones with tape you do not have to replace, and that usually means the second cheapest box on the shelf. Paying twice for a window because the first tape failed is the only real overspend in this job.
Per window, per season, this is coffee money. The cost that climbs is doing the work twice: thin tape in November, cold air in December, another kit in January. Buy the wider tape once and be done with it.
That is the job. A window is a hole in the wall with a lid on it, and tape plus tension are what make the lid seal.