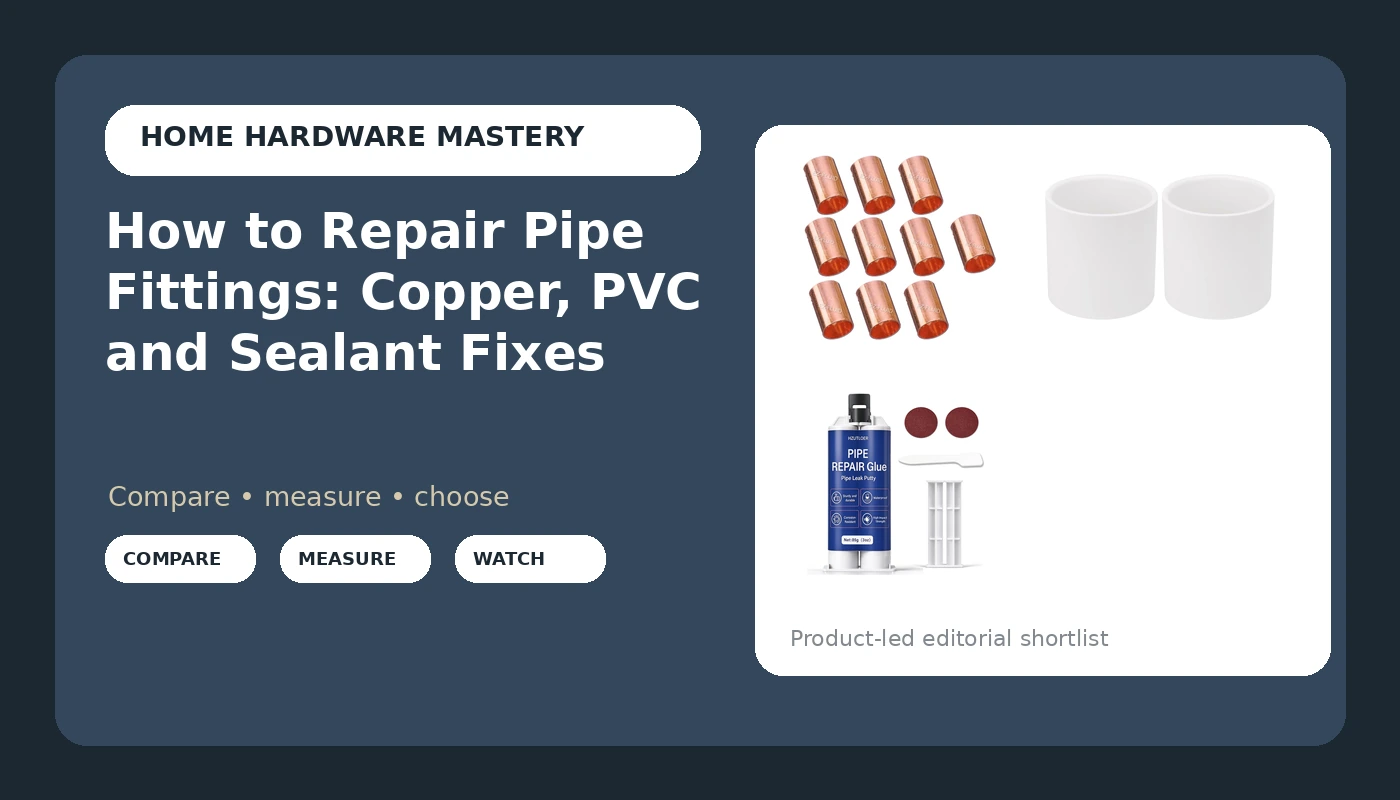
A drip under the sink at nine on a Sunday night is a decision, not a mystery. You can learn how to repair pipe fittings yourself with a handful of parts and one evening, or you can hand the same parts to somebody else and wait until Tuesday. This guide takes the first road, in the order the job actually happens: identify the pipe, decide repair or replace, then make a joint that holds.
Repair is the word doing the work. A patch gets you through the week: a clamp, a smear of sealant, a bucket under the trap. A repair is a cut, a cleaned surface, and a new fitting that carries the same pressure the old one did. The three parts below cover the copper side, the plastic side, and the short-term holding action, and none of them substitutes for the others.
Two boundaries before we start. Nothing here touches a gas line, and nothing here is electrical work. If the leak sits inside a wall behind finished drywall, or behind a cabinet you cannot empty, stop and call a plumber. That is not caution, it is arithmetic: the cut is the cheap part and the drywall is not.
Why you should trust me
I spent nineteen years as a remodeler's finish carpenter before I went out on my own in Akron, and most of what I know about how to repair pipe fittings arrived as a callback. A joint that wept behind a vanity six weeks after we set it. A drain coupling that let go because somebody wiped the primer off with a rag they had used on an oil gun. My shop has a shelf of failed parts labeled with what gave out first, and one of those labels is on a fitting I soldered myself.
I am not a licensed plumber and I do not play one in print. What I am is the guy who has to open the same wall twice if the joint is wrong, so I learned to sweat copper properly and to read a fitting the way I read a hinge: what does the material say about where it fails. When a job crosses into a main line, a slab, or anything the local inspector has an opinion about, I say so and I hand it off.
How I picked and how I tested
I did not run a pressure rig, and I am not going to describe a test that did not happen. What I did was narrower. I picked the three parts that cover the repairs a homeowner actually faces, and I judged each one on the four things that decide whether a fitting holds.
Material match comes first. A copper slip coupling does nothing for PVC, and a Schedule 40 socket is not a supply-line part. Size is second, and this is where most first timers lose: nominal size is not measured size. A half-inch copper tube is not a half inch across, and a three-inch Schedule 40 socket is a drain and vent dimension, not something you will find under a kitchen sink. The pipe fittings size guide I keep bookmarked will tell you the same thing: measure the outside diameter of the tube and the inside of the socket, then buy to those numbers.
Third is the failure that pipe fittings reviews repeat. I read them the way I read a callback list, looking for the same sentence more than once: the fitting cracked at the knuckle, the sealant let go at the first cold snap, the coupling had no stop and slid off center. Top rated pipe fittings are rated on a shelf, not on a joint, so a star count tells me less than a repeated complaint does.
Fourth is whether the part installs in one pass. A fitting that sends you back to the store costs you a day, which is the one thing you cannot buy at a hardware counter. That is also the shortest answer to how to choose pipe fittings for a repair: pick the one that matches the pipe you have, not the one that matches the pipe you wish you had.
This is a repair guide, not a pipe fittings buying guide for somebody re-piping a house, and it is not aimed at pipe fittings for beginners who have never held a torch. If you want a full pipe fittings comparison across every family of fitting, that is a different page. What follows is the short version I would give a neighbor.
Parts I use to repair pipe fittings
Three parts, three jobs. None of these is a universal answer, and I would rather you buy the right one than the whole shelf.
The permanent copper fix: (10) EZ-FLUID Plumbing 1/2" C X C LF Copper Slip Coupling Pressure Fitting Without Stop,Sweat Solder Connection Connector End Repair Coupler Copper Fittings,Residential,Commercial
The permanent copper fix
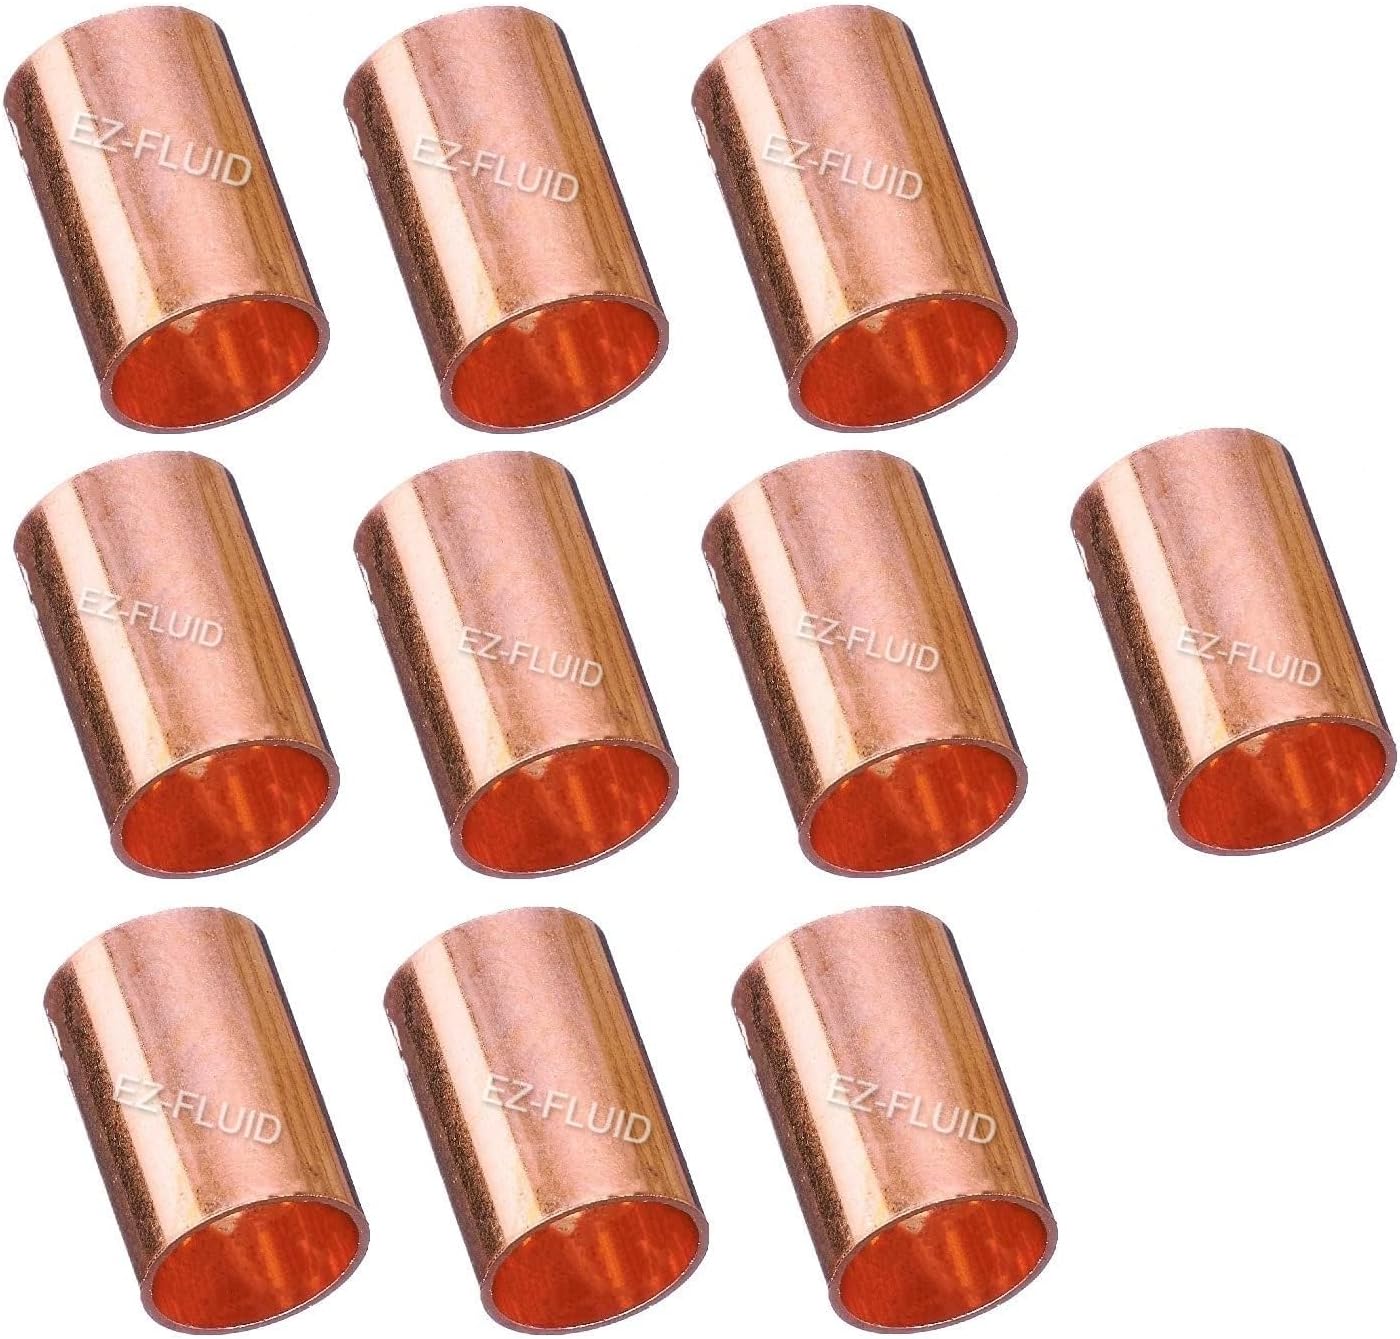
(10) EZ-FLUID Plumbing 1/2" C X C LF Copper Slip Coupling Pressure Fitting Without Stop,Sweat Solder Connection Connector End Repair Coupler Copper Fittings,Residential,Commercial
Half-inch copper, ten couplings to the pack, no stop inside. That missing stop is the entire reason this part exists. A standard coupling has a ridge at the midpoint that parks each pipe at the right depth, which also means you cannot slide it back over two ends that are already fixed in place. Without the ridge, you slide the fitting fully onto one side of the cut, line the pipes up, and slide it back to bridge the gap. Low lead, cup by cup, ten to a pack, so a mistake costs you one fitting instead of a second trip.
It is the right part for a pinhole or a split in a half-inch copper supply line where you can cut out a few inches and end up with two clean, round, dry pipe ends. It is the wrong part for PEX, CPVC, galvanized, or copper that froze and split along its length. Pipe that has swelled is scrap, not a repair surface.
The failure to respect here is centering. With no stop, nothing tells you the fitting has gone too far one way. Mark the pipe on both sides of the gap before you flux anything, keep roughly a half inch of engagement on each side, and trust capillary action: solder pulls into a hot, clean, fluxed joint on its own. Painting solder onto the outside of a cold joint is how you get a weep at the first cold morning.
Flaws but not dealbreakers: a no-stop coupling asks more of the installer than a stopped one. If sweating copper is new to you, buy the ten pack and burn two of them on scrap pipe before you go near a live line. Check current Amazon price.
The drain-side socket: 2Pack 3" PVC Pipe Coupling Adapter Pipe Fittings (Sx S) Contractor Pack Schedule 40 Heavy Duty 3 Inch PVC Slip Socket Connectors for DIY Shelf Garden Support Structure, White
The drain-side socket
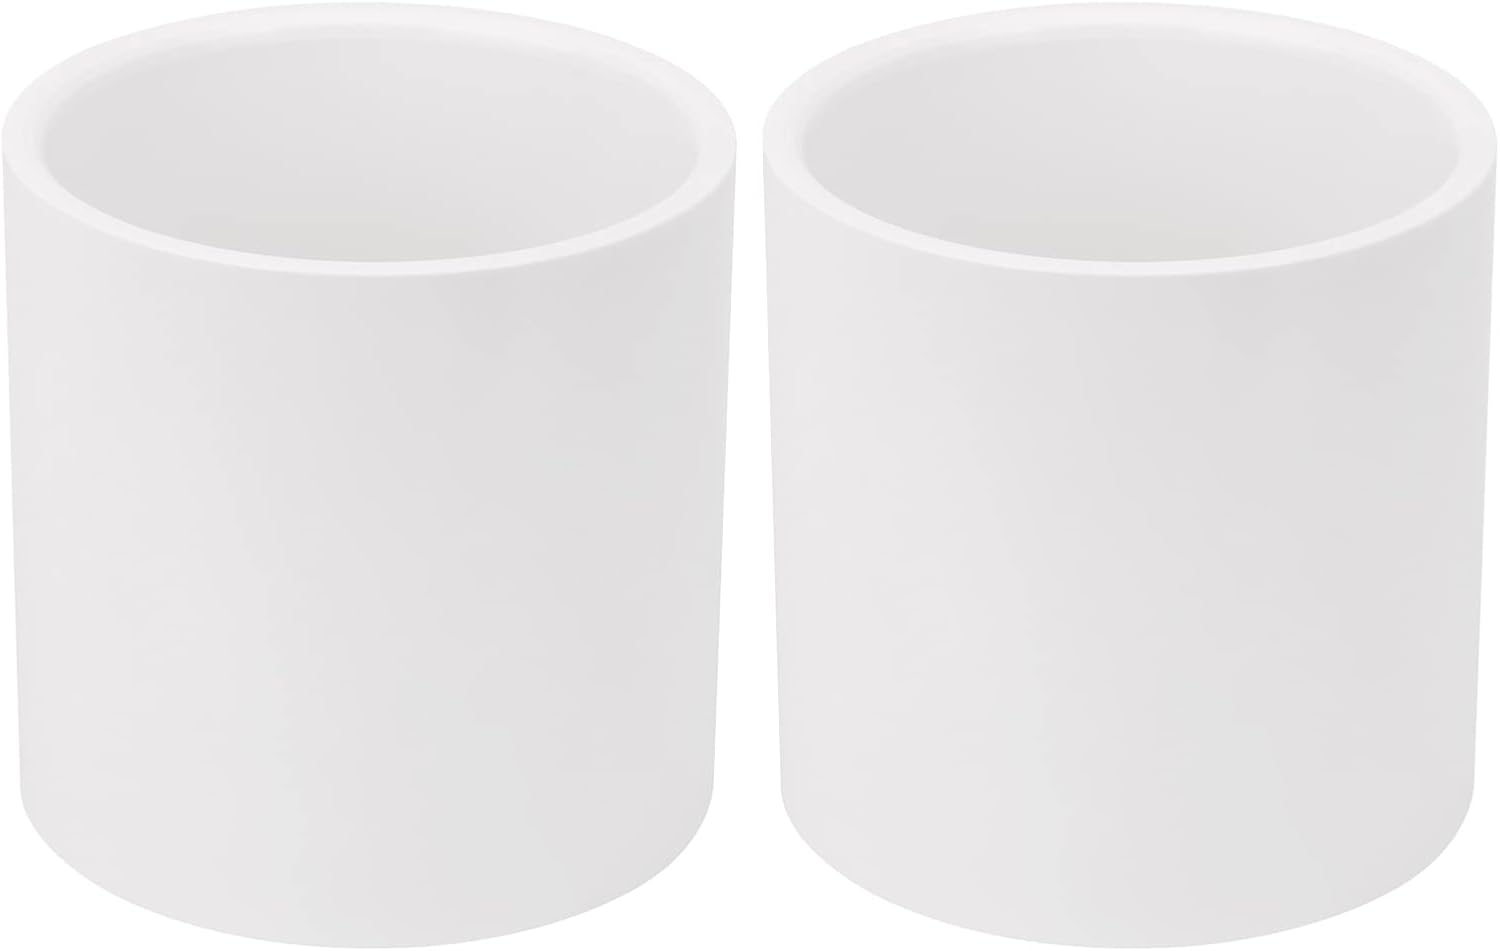
2Pack 3" PVC Pipe Coupling Adapter Pipe Fittings (Sx S) Contractor Pack Schedule 40 Heavy Duty 3 Inch PVC Slip Socket Connectors for DIY Shelf Garden Support Structure, White
Three-inch Schedule 40, socket by socket, two to a contractor pack, white, solvent weld. This is drain, waste and vent territory, plus the shop and garden builds the listing mentions: a shelf support, a hoop frame, a trellis. It is a big pipe. If your leak is under a bathroom sink you are looking at inch and a half, and this is not that part. Measure before you order, because the nominal number on the box is not the outside diameter and it is definitely not the inside.
Where it earns its place in a repair is a three-inch drain or vent run that cracked at a joint. You cut out the damaged section, cut a spigot piece to fit, and glue up in order. This coupling has a center stop, so it will not slide over two fixed ends the way the copper slip coupling will. On a fixed run you either flex the pipe enough to seat the last joint, which gets harder as diameter climbs, or you cut back further and add a second coupling.
Prep is the whole job on PVC. Cut square, chamfer the cut edge so the cement is not scraped off on the way in, wipe both surfaces, prime with the purple, then cement, push and quarter turn, and hold for thirty seconds against the push-out. A glued joint that gets wiggled during cure is a leak you will meet again in a month.
Flaws but not dealbreakers: two couplings means one spare on the shelf, which is exactly where a spare belongs. Check current Amazon price.
The holding fix: Pipe Repair Glue,Waterproof Pipe Leak Sealant for PVC PPR Metal Cast Iron Radiator Drain Pipes,High Pressure & Corrosion Resistant Plumbing Fix Adhesive
The holding fix
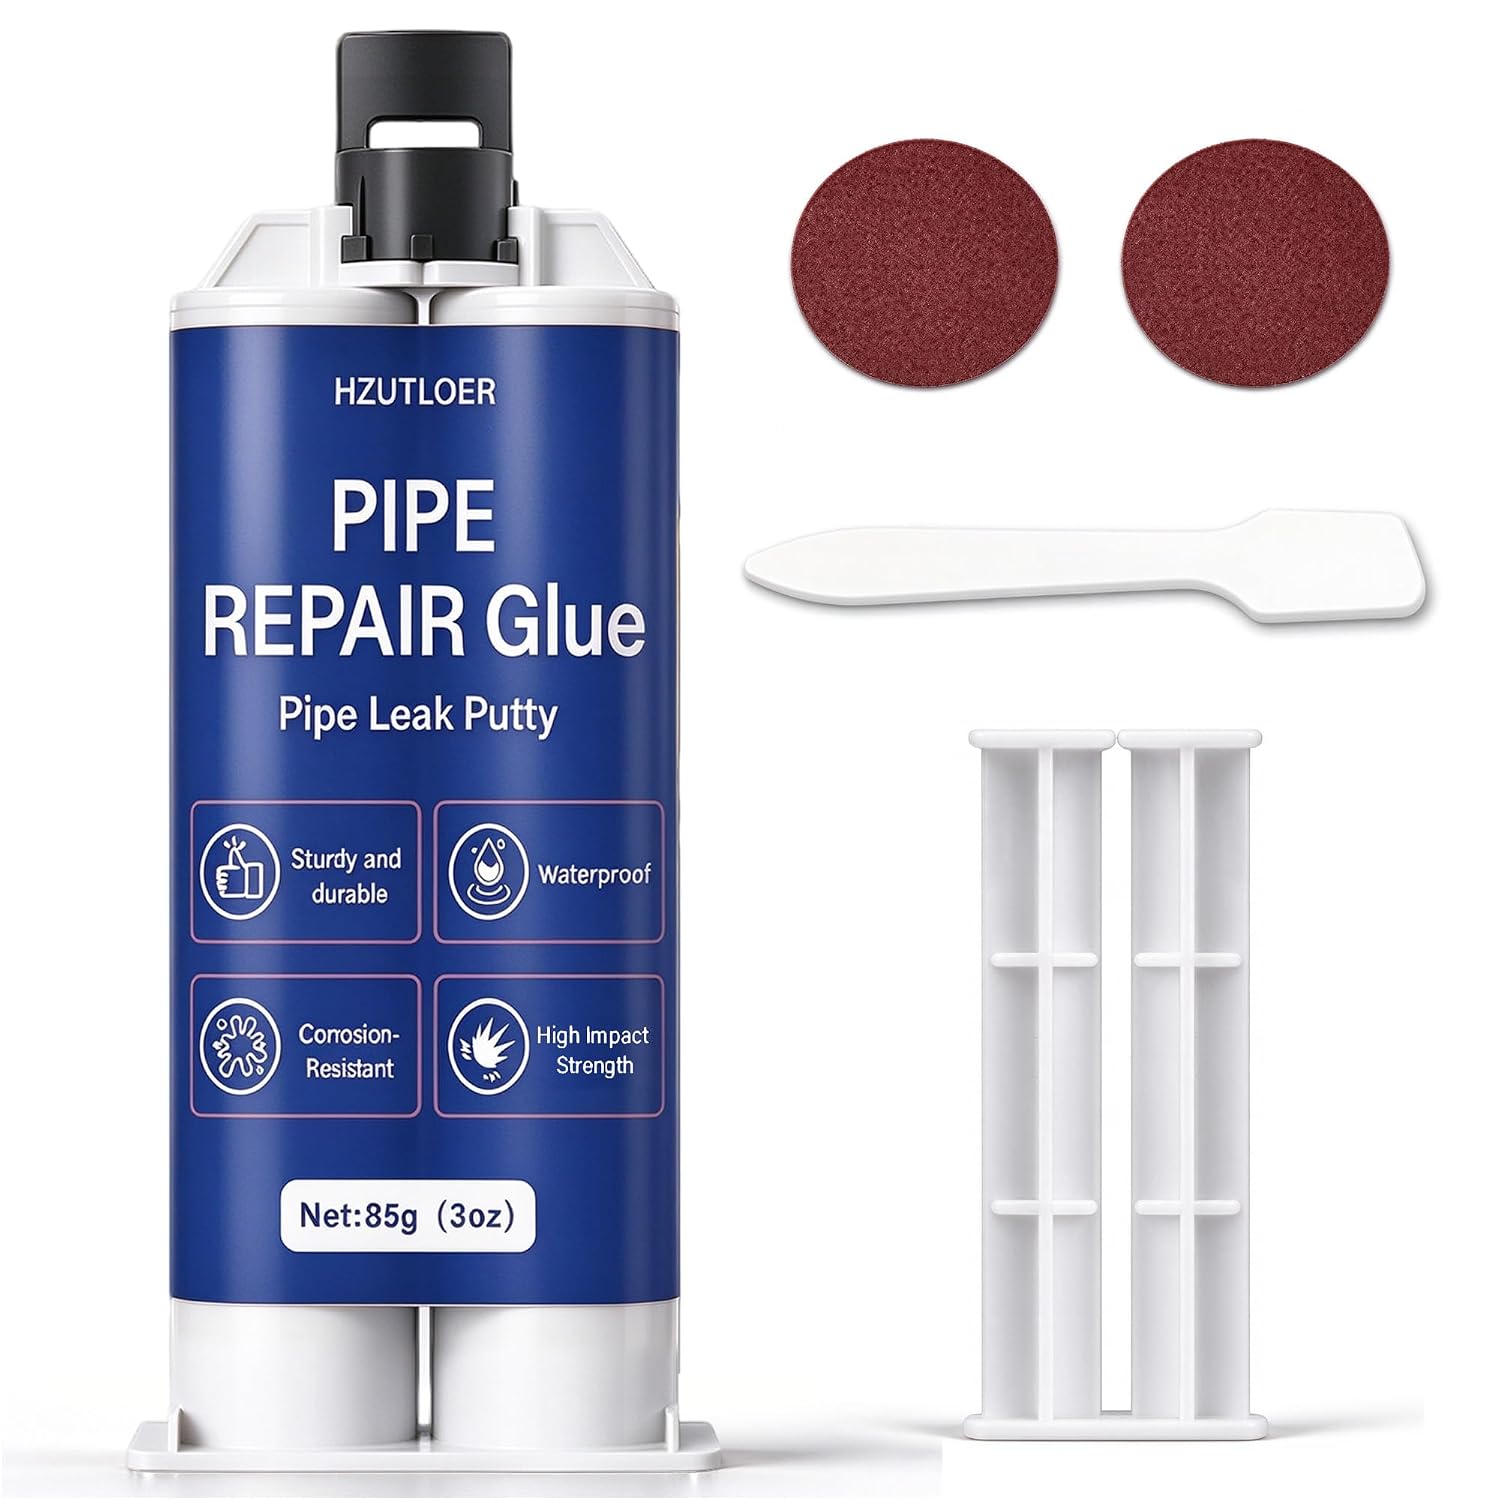
Pipe Repair Glue,Waterproof Pipe Leak Sealant for PVC PPR Metal Cast Iron Radiator Drain Pipes,High Pressure & Corrosion Resistant Plumbing Fix Adhesive
Every truck has a tube of something like this, and every plumber will tell you what it is for: holding a weep until the real fix happens. Waterproof, corrosion resistant, sold for PVC, PPR, metal, cast iron and radiator work. It is a surface treatment. It bonds to a clean, dry, roughened surface and it fails on a wet one, no matter what the label promises.
Use it on a slow drain weep at a cast iron joint, a radiator nipple you cannot take apart this week, or a shop sink fitting that drips onto concrete. Do not use it on a pressurized supply joint inside a cabinet you plan to close up, and do not use it on a joint whose mechanical problem is that the pipe is cracked through. Sealant over a crack is a countdown, not a repair.
The prep is the same as any adhesive: drain the line, dry the surface, abrade it with emery cloth, and give it the full cure time before the water goes back on. The failure mode with all sealants is identical and it has nothing to do with the brand. It lets go at the worst moment, usually the first hard freeze after you stop thinking about it. That is the honest argument for the other two parts in this guide. The sealant buys days. The coupling buys years.
Flaws but not dealbreakers: it hides the leak as well as it stops it, so pencil the date on the pipe and come back to it. Check current Amazon price.
The order below is the order I repair pipe fittings in, and each step names the failure that shows up when you rush it.
Step one: Identify the pipe and the size. Copper is soft and bright when you scrape it. Galvanized is dull grey with a zinc skin. PVC and CPVC are printed with the schedule and the size every few feet, so read the pipe before you guess. PEX is flexible and usually red or blue. Then measure the outside diameter with a caliper and write the number down. This is the step that decides whether you come home with the right fitting, and it is the step most first timers skip.
Step two: Shut off, drain, and prove the line is dead. Close the valve upstream, open the lowest faucet in the house, and open the fixture above the repair to let air in. Water sitting in the line is the number one reason a solder joint fails: the pipe never gets hot enough and the solder sits on the surface instead of drawing in. On a drain, run no water anywhere above the work until the joint has cured.
Step three: Decide repair or replace, then cut back to sound material. Cut at least a coupling's length past the damage on both sides. Green crust on copper means the wall is thin and the pipe will crush when you cut it, which makes the job a replacement rather than a repair. Same story for PVC that has gone chalky in the sun. The fitting only holds if the pipe under it is solid.
Step four: Cut square, deburr, and check for round. Tubing cutter for copper, with a quarter turn of the reamer afterward so the cut edge is not pulled inward. Fine-tooth saw for plastic, then chamfer. Sight down the end: if the pipe is oval, the fitting leaks at the two flat spots, and no amount of solder or cement fixes that. Cut back until you find round.
Step five: Dry fit and mark the centerline. Slide the slip coupling on, find the midpoint, and mark the pipe on both sides with a pencil. Take a photo with your phone before you pull it apart. On PVC, mark socket depth on the pipe so you know the fitting seated all the way under cement, when the joint is too slippery to feel.
Step six: Clean, flux, prime, and cement. Copper: emery cloth to bright metal, flux thin and even on both surfaces, and do not touch the fluxed ends with your fingers. PVC: primer on the pipe and inside the socket, then cement on both, because primer alone is not glue. Dry and clean is the entire game at this step.
Step seven: Solder or glue, then leave it alone. Heat the fitting, not the solder. Touch the solder to the lip of the cup and let it run in; if it balls up, the joint is not hot enough. Wipe once with a dry rag and let it cool on its own, never with water. On PVC, push, quarter turn, hold for thirty seconds, and do not test it early because you are impatient.
Step eight: Test it, and know when to call. Supply lines: open the valve slowly with a faucet open to let air out, dry the joint, and wrap it in a paper towel for fifteen minutes. Drains: run water for a minute and look underneath with a light. If it weeps, cut it out and start over. Sealant on a failed solder joint is a decision to do the job twice. Call a plumber if the leak is at a valve body, in a slab, on the main, or anywhere the local inspector has a say.
The competition and why it lost
Four things people reach for instead, and why each one lost here.
Push-fit slip couplings are genuinely good and I keep two in the truck. They cost more per joint than a sweat coupling, they want a clean square cut with insertion depth marked on the pipe, and only the ones with a removable collar come apart again. For a single repair on copper you can solder, the sweat coupling is cheaper and permanent.
Epoxy putty sticks are the other emergency answer. They work on a dry, drained, roughened pipe and they fail on a wet one, which is the exact condition you find when a pipe is leaking. Right for a radiator, wrong for a supply line.
Rubber sleeve and clamp kits are the correct call on a cracked cast iron drain and the wrong call on anything pressurized. The gasket ages, the clamps loosen, and nobody ever goes back to check.
Compression fittings need a clean, round, fully inserted pipe and a ferrule that has not been over-tightened. They are fine. They are just not what this article is about, and a compression joint that has already been cranked down twice is not worth reusing.
What this all costs
Three parts, and the arithmetic is not close. The copper couplings come ten to a pack, so the cost of one repair is a tenth of that pack plus a little solder and flux. The PVC pair leaves you a spare. The sealant is the least expensive item here and the one I would least want to depend on, which is the right way to think about best budget pipe fittings: cheap is fine when the part is a backup and wrong when it is the repair.
The real line item is tooling, and only if you own none of it: a propane torch with a self-igniting head, lead-free solder, flux, emery cloth, a tubing cutter, a fine-tooth saw, PVC primer and cement. Buy those once and they cover every repair in this article plus the next five. Check current Amazon price on the three parts above; the tools are where the money actually goes.
Set that against a service call, which in my part of Ohio starts at a minimum charge before anyone opens a door, and the math favors doing it yourself for anything you can reach. What you are really paying a plumber for is the answer to the question in step eight: is this the leak I should be touching. For a joint under a sink, the answer is usually yes, you should.
The parts cost less than the drywall you would replace if you skipped the pressure test. Do the test, keep the spare coupling on the shelf, and pencil the date where you can see it.